Tuesday, 19 April 2011
Surprise!!
Got a little project finished yesterday on my day off but as it is for my sister's b'day and she's a follower I can't reveal it yet ...
Sunday, 17 April 2011
Booties!
Yes, it's back to babies. A friend at work goes on mat leave at the end if this week and I wanted to make just a little something to show I care.
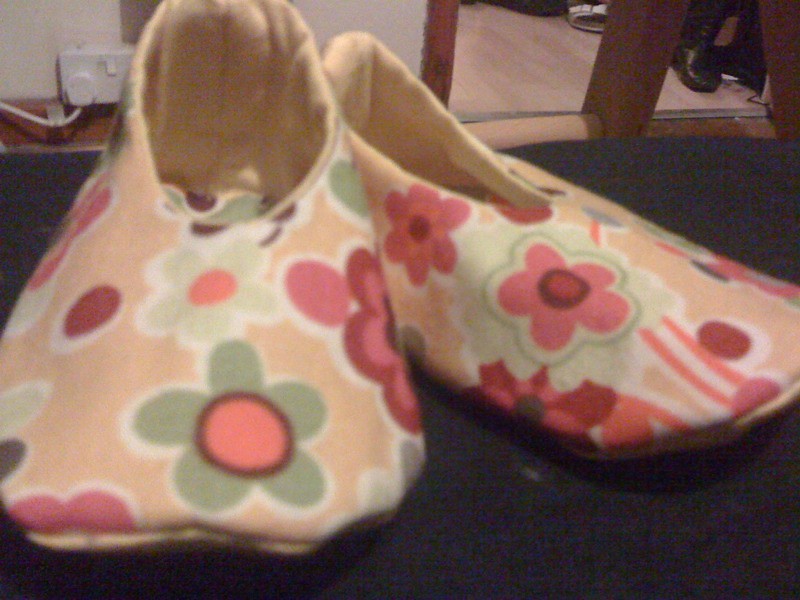
These little baby booties from Sew Hip issue 27 are so cute and relatively easy to make.
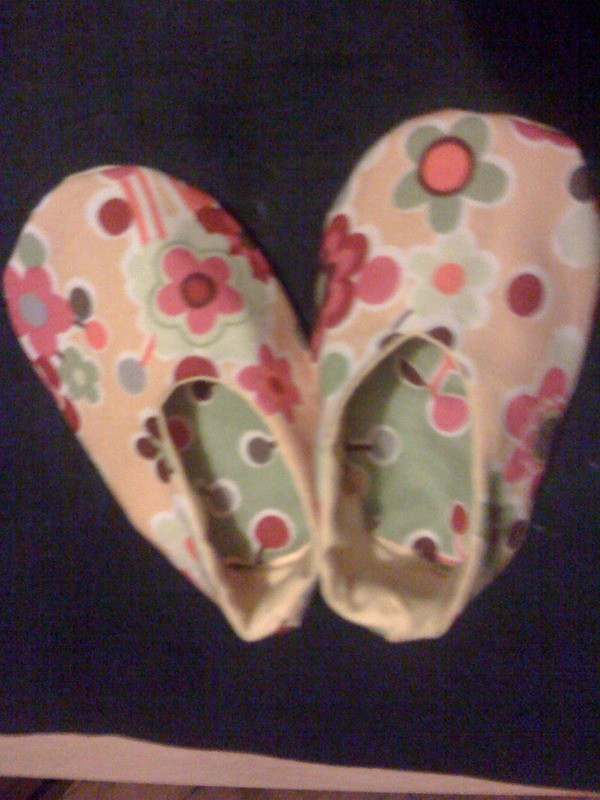
I went for the yellow/green colours as it is non-gender-specific/stereotypical so should work whatever pops out!

These little baby booties from Sew Hip issue 27 are so cute and relatively easy to make.

I went for the yellow/green colours as it is non-gender-specific/stereotypical so should work whatever pops out!
Wednesday, 13 April 2011
Sock monkey
You can't beat a good sock monkey!
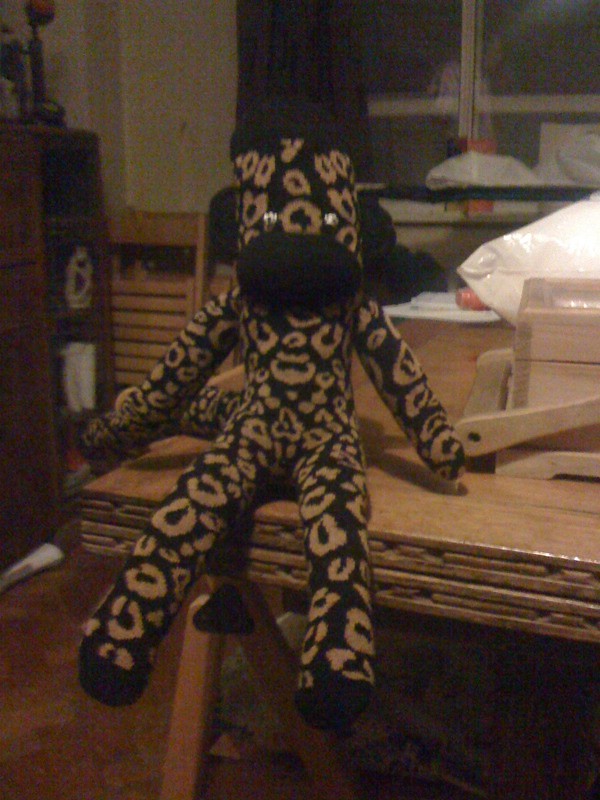
It's my bro-in-law's gf's birthday this weekend and as I got such favourable comments about the husband's sock monkey I thought I'd whip one up for her.
Bought a great 3 pack of socks from M&S, one of which was animal print. I thought that would make a wicked sock monkey (whilst I get to keep the other socks!) and I was right.
Sunday, 3 April 2011
A little quickie
Having really got back into the swing of sewing after the satisfaction of my big quilt project I just couldn't help myself and had to just have a bash at a quick project.
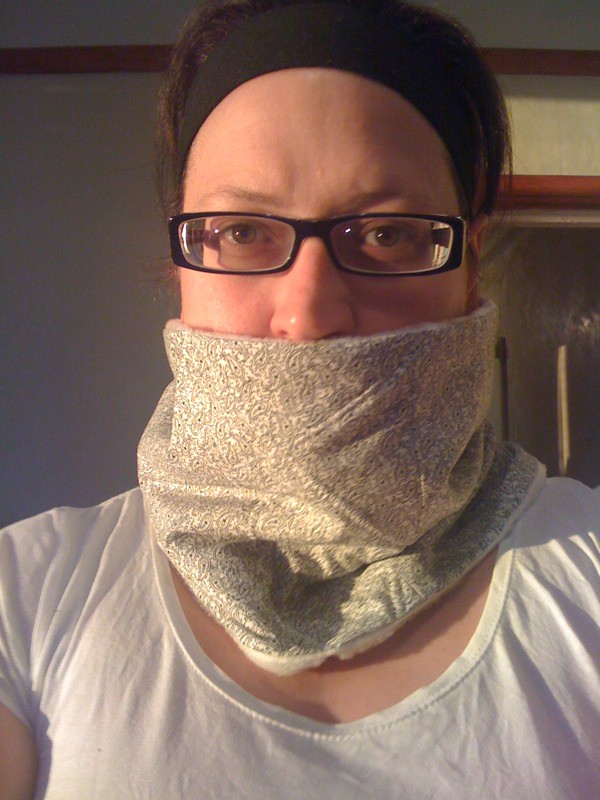
Ok, so I look a little bit like a terrorist but that's because it's Spring and I've made a wintery item. Yes - another opportunity to use some more of that white fleece, as well as a great project to use one of the fat quarters my lovely sister bought me.
It took about an hour and a half. It was very simple - a basic rectangular construction with some decorative stitching. I went for zigzag stitch lines at varying degrees intersecting with each other. I did these in white which gives it a nice texture. I did think about doing some in black as well but decided against that as I liked the effect with just the white.
Oh, and it's another one from small stash sewing.
Sleepy time quilt
Wow! I've finally finished this project. It's a fantastic quilt from my Small Stash Sewing book with a HUGE quantity of fabric and wadding.
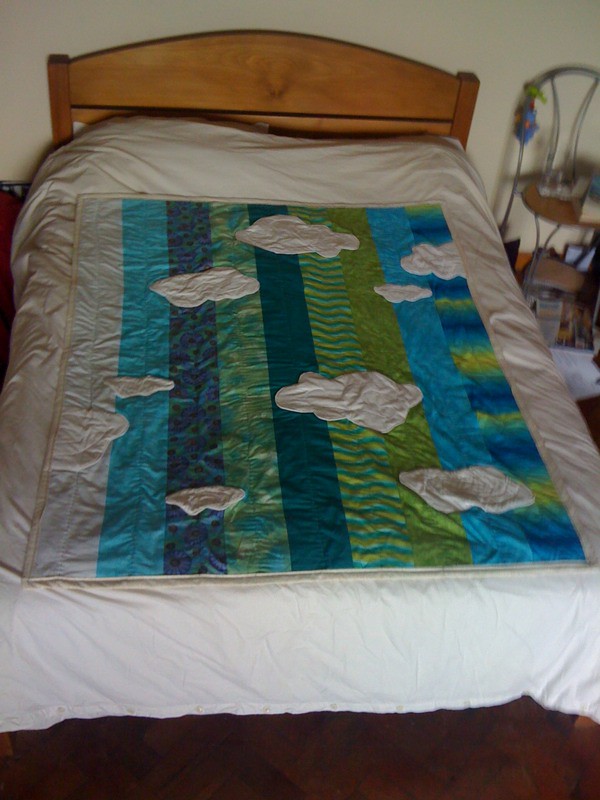
This was quite fun to make as whilst there was a pattern it did leave some space for creativity; firstly in the range of fabrics and secondly in the cloud arrangement.
The clouds were made separately, quilted on their own (with whatever swirls took my fancy) and then top-stitched onto the quilt.
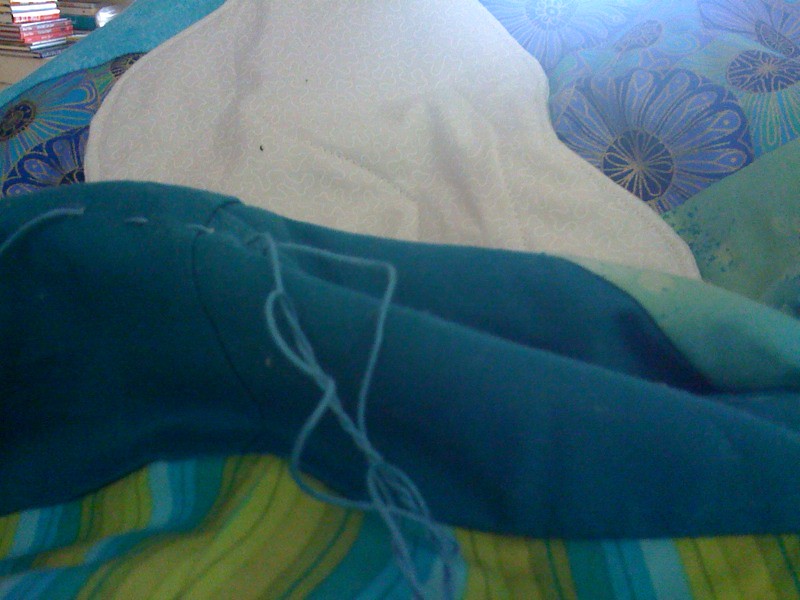
It then had to be handquilted, using embroidery thread, so that the lines on the top stopped at the clouds but continued on the back. It was arduous, and whilst some of the lines are clearly all over the shop it does add to the "home crafted" effect!!
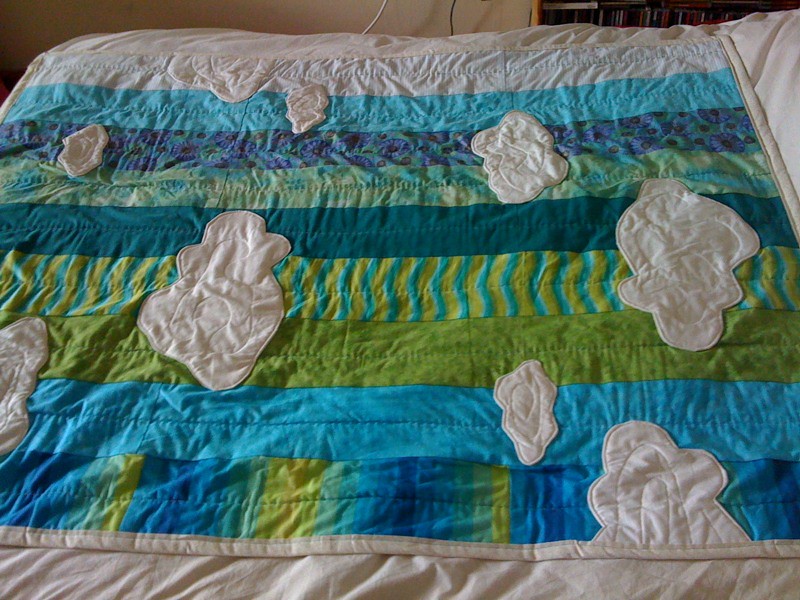
Probably my biggest project to date but really satisfying. I hope the recipient likes it!

This was quite fun to make as whilst there was a pattern it did leave some space for creativity; firstly in the range of fabrics and secondly in the cloud arrangement.
The clouds were made separately, quilted on their own (with whatever swirls took my fancy) and then top-stitched onto the quilt.
It then had to be handquilted, using embroidery thread, so that the lines on the top stopped at the clouds but continued on the back. It was arduous, and whilst some of the lines are clearly all over the shop it does add to the "home crafted" effect!!

Probably my biggest project to date but really satisfying. I hope the recipient likes it!
Saturday, 2 April 2011
Getting there ...
Phew! Hand quilting all done. This has been a tough and looooooooong project. It needed the hand quilting and the layers, in fact I think the wadding, is really thick so I've been using pliers to pull the thread through.
But it's getting there. I've trimmed the wadding and the backing fabric and started to press the binding. I think I'll crack this one tomorrow with the top stitch finish and a final press. Woo hoo!
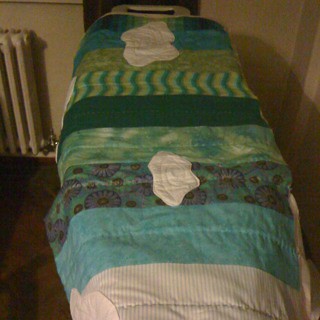
But it's getting there. I've trimmed the wadding and the backing fabric and started to press the binding. I think I'll crack this one tomorrow with the top stitch finish and a final press. Woo hoo!

Subscribe to:
Comments (Atom)
